 System administration can be a very complex endeavor especially in the realm of software development.
Today we will practice setting up a simple Nginx server in a Docker container and host it locally.
From the NGINX website: NGINX is open source software for web serving, reverse proxying, caching, load balancing, media streaming, and more. It started out as a web server designed for maximum performance and stability. In addition to its HTTP server capabilities, NGINX can also function as a proxy server for email (IMAP, POP3, and SMTP) and a reverse proxy and load balancer for HTTP, TCP, and UDP servers
NGINX is versatile and operates well in a container or on a server.
Before we get started please ensure you have Git and Docker installed on a Linux virtual machine, now lets get started!
- Clone the demo git repository:
$ git clone https://github.com/alexrf45/nginx-demo.git && cd nginx-demo
- Here are the files needed to set up the Nginx instance:
.
├── Dockerfile
├── html
│   ├── index.html
│   ├── nginx.png
│   └── nice.jpg
└── nginx.conf
- Let’s review the
nginx.confto understand the Nginx server configuration:
events {
  worker_connections  1024;  ## Default: 1024
}

http {
  index    index.html;

  default_type application/octet-stream;
  log_format   main '$remote_addr - $remote_user [$time_local]  $status '
    '"$request" $body_bytes_sent "$http_referer" '
    '"$http_user_agent" "$http_x_forwarded_for"';
  sendfile     on;
  tcp_nopush   on;
  server_names_hash_bucket_size 128; # this seems to be required for some vhosts

  server { # our server instance
    listen       80;
    server_name  localhost;

    # serve static files
    location ~ ^/(images|javascript|js|css|flash|media|static)/  {
      root    /etc/nginx/html;
      expires 30d;
    }

    }
}
- The
eventsblock sets global options for how Nginx interacts with connections. - The
httpsection starts with the default location of our index.html file, our main entry point into the instance and the page seen when navigating to the default URL. - Next we have a section for logging any HTTP requests to the instance. We will not go in-depth with that section today.
- Lastly, we have the
serverblock which sets the port nginx will listen on (Port 80/HTTP), the hostname (localhost), and where we will serve the index.html and nginx.png files
- Review the Dockerfile below to understand what each line of code does for the app:
#uses the latest nginx Docker base container image
FROM nginx

#removes the default Nginx config files
RUN rm /etc/nginx/nginx.conf /etc/nginx/conf.d/default.conf

#copies the static files needed for the application
COPY html /etc/nginx/html

#copies our custom Nginx config file into the Nginx server directory
COPY nginx.conf /etc/nginx/nginx.conf

#exposes port 80 (HTTP) and 443 (HTTPS) to the host
#so that we can access the index.html by navigating to http://localhost
EXPOSE 80 443
- Okay let’s build our Docker image and spin up the container. Depending on your internet connection, it should take less than a minute for the image build:
# builds our image with the desired name and references the root Dockerfile in our directory
$ docker build -t nginx:demo .

# The Docker run command flags are as follows:
# -d - detachs the container from the terminal standard output or stdout.
# --rm - removes the container after we stop the container
# -p links port 80 from the container to our host
# nginx:demo - the name of our custom nginx image
$ docker run --name nginx-demo -d --rm -p 80:80 nginx:demo
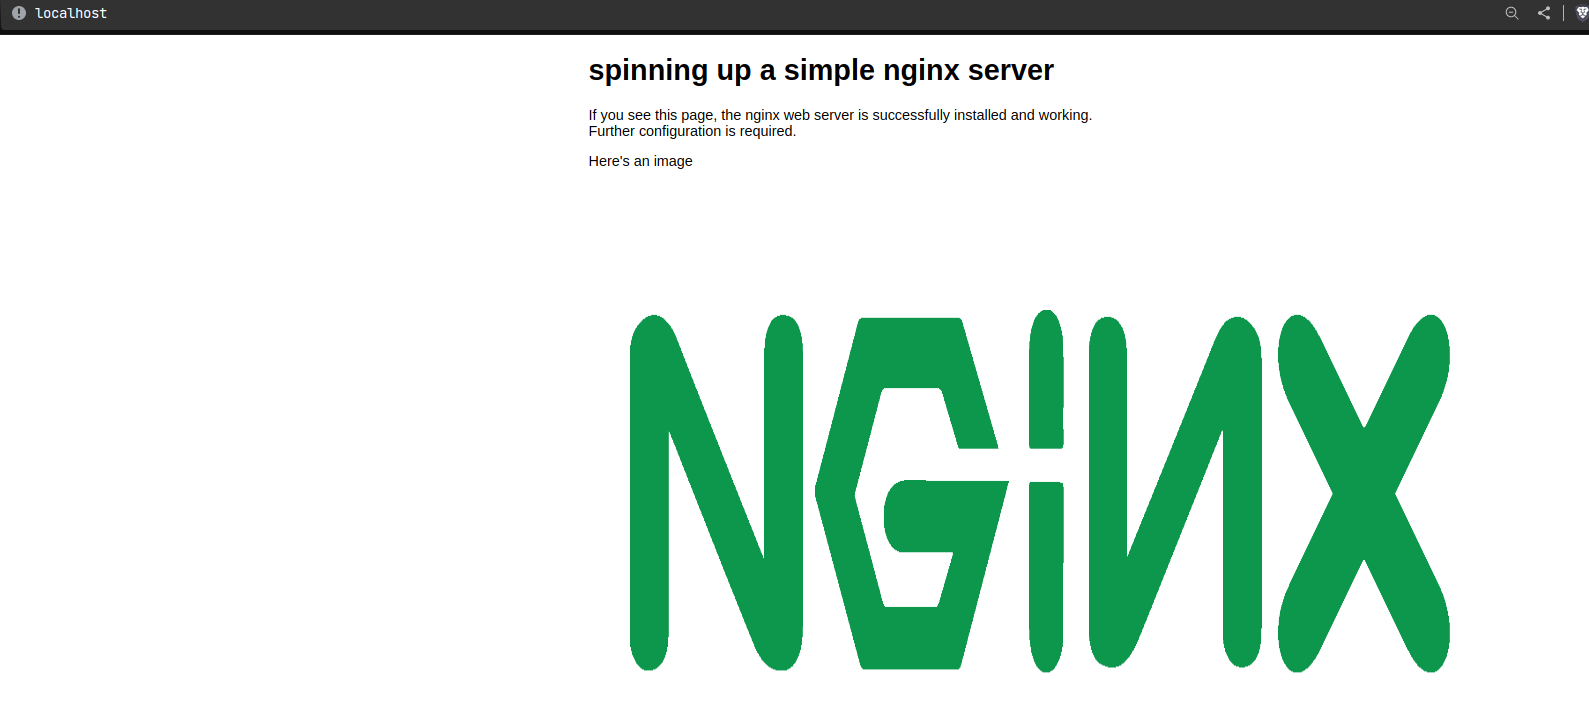
- Navigate to http://localhost and if you see this page, the app is up and running!
- For clean up, let’s stop the container:
$ docker container stop nginx-demo
That’s all for todays demo, stay tuned for more!